Optimizing images (compressing, sizing, etc)
This document will contain how to get image of particular size, and optimize their size.
Sizing the image correctly
Whenever you try editing an image on the website, you will see recommended size for that image.
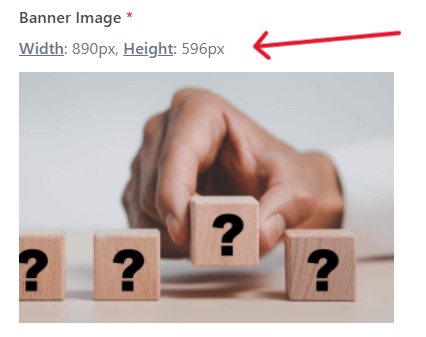
I have added this to make sure your webiste images don’t have unecessarily large size, reducing their size as a result.
Normally I use a tool name ‘Photoshop’ to achieve desired image size. But since your team doesn’t has this software, I will tell you how to do the same with a free online tool named ‘Canva’.
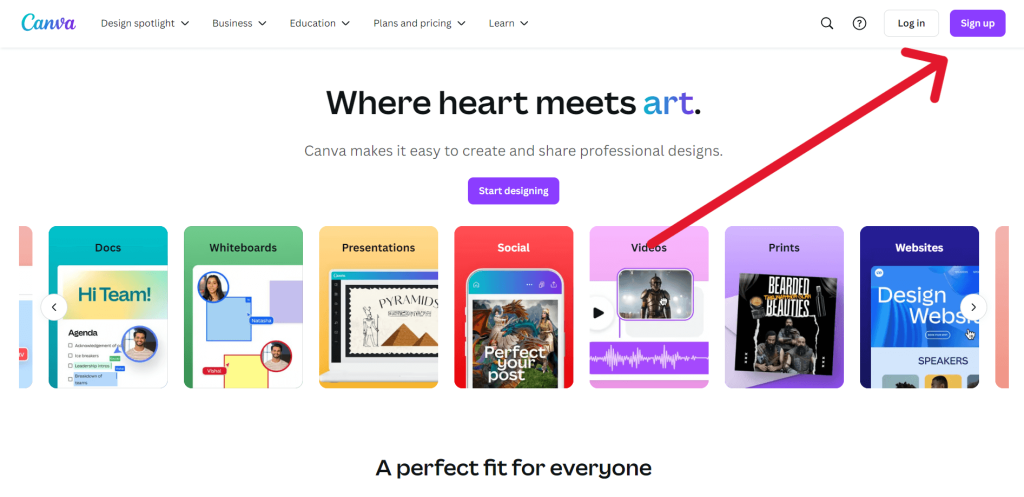
Step 1: Open Canva & ‘Sign Up’ to it for free account.
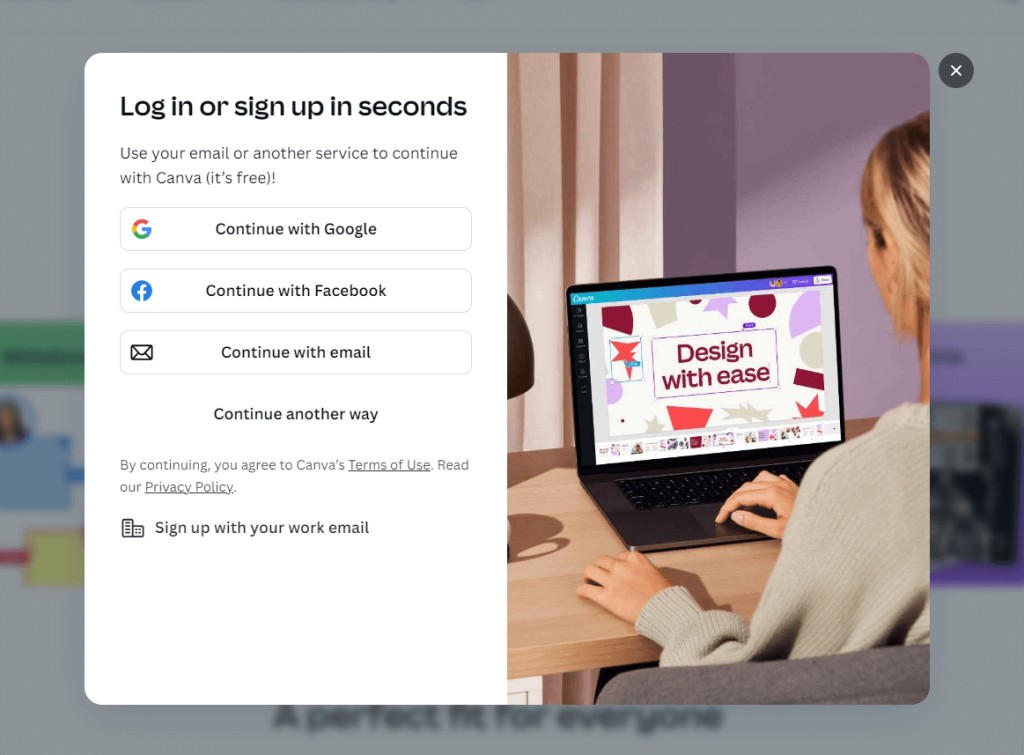
Step 2: Use your desired method to create free account.
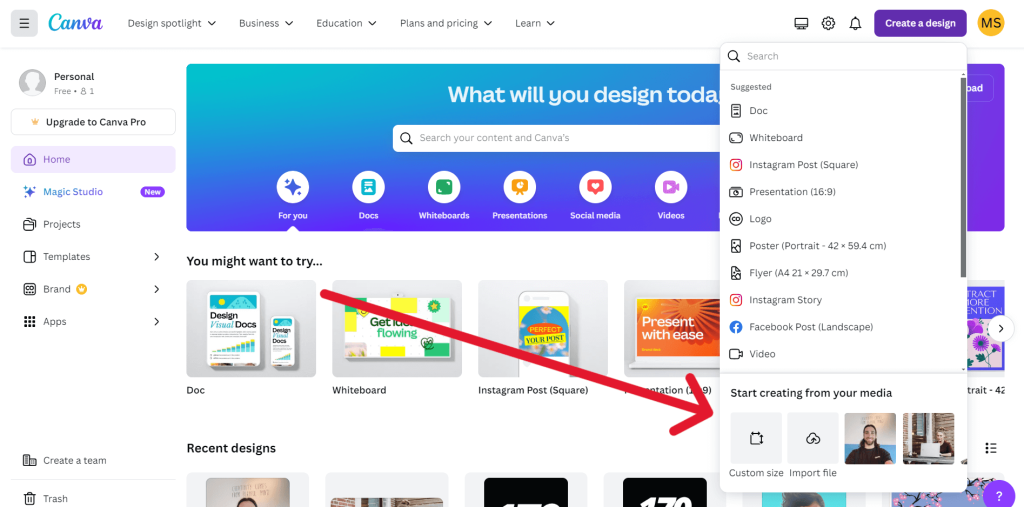
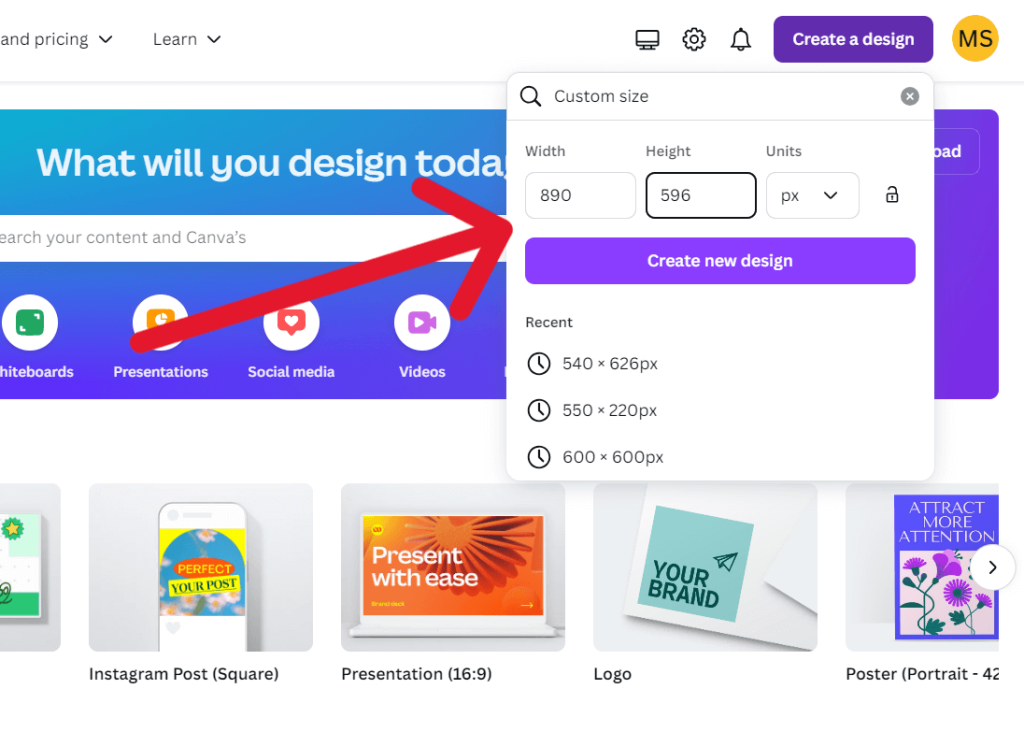
Step 3: Once you have a free account on Canva, then open canva.com. Click on ‘Create a design’ and then click ‘Custom Size’.
Step 4: Enter the Width & Height that is mention for that image (inside WordPress admin of HT Law website). Click ‘Create a new design’.
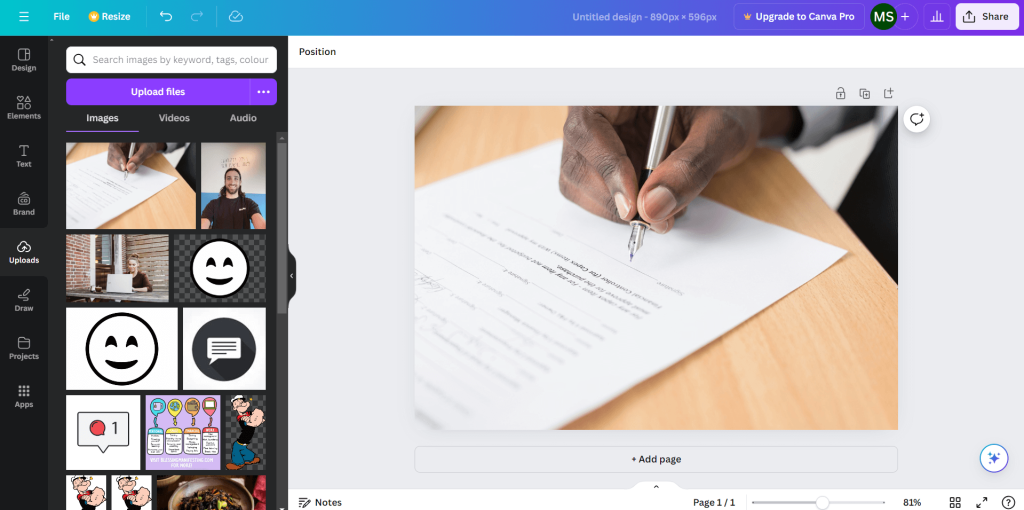
Step 5: A blank canvas will apear. Now drag the image (that you have downloded to add on th website) to the blank canvas.
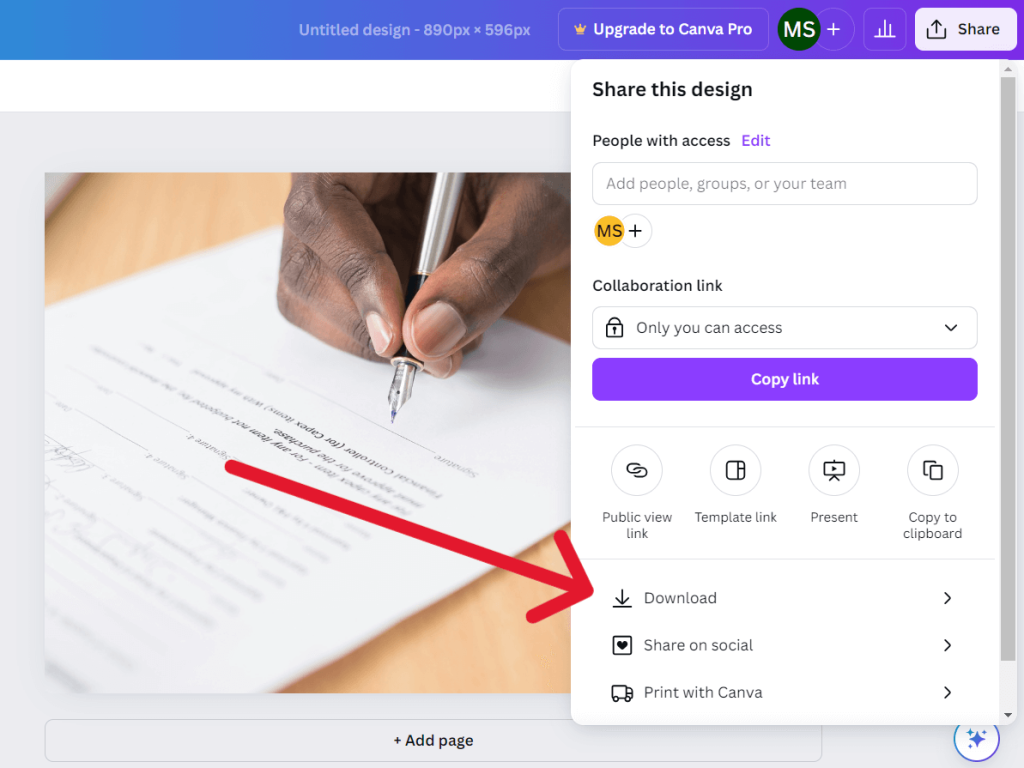
Step 6: When you are happy with the image, then click on ‘Share’ on top right. Then click on ‘Download’.
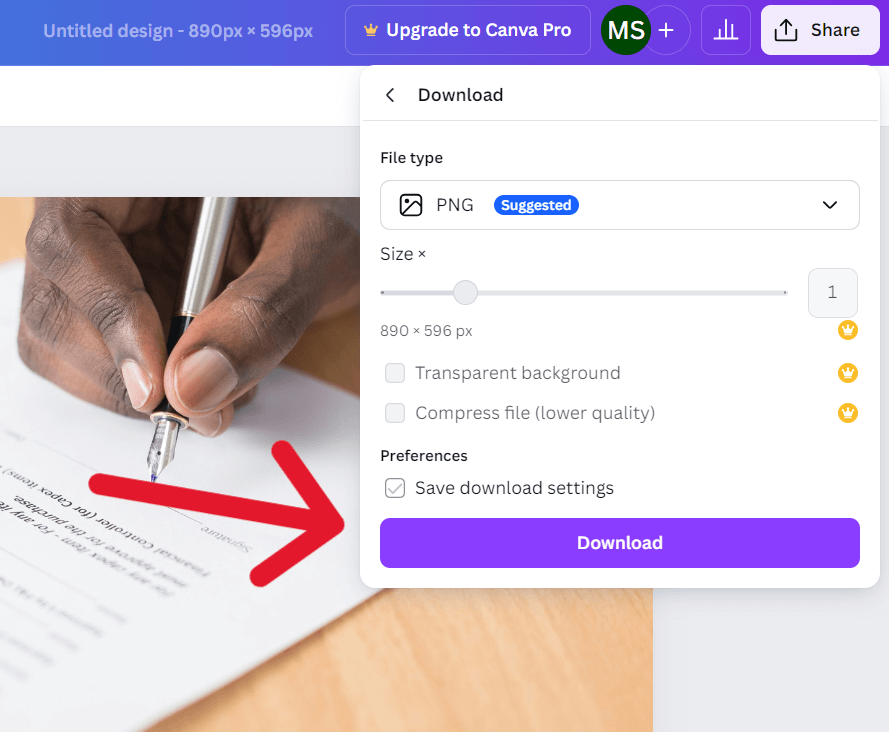
Step 7: Select file type as ‘PNG’ (it is by default). The click ‘Download’.
Compressing the size of image
Compressing the image on website is super important to increase get optimal performance. Websites with high image size take a extra website space and make the website slow.
I use a method where size of images are reduced a lot without their quality reducing even by a tiny bit. Lets see how I optimize them.
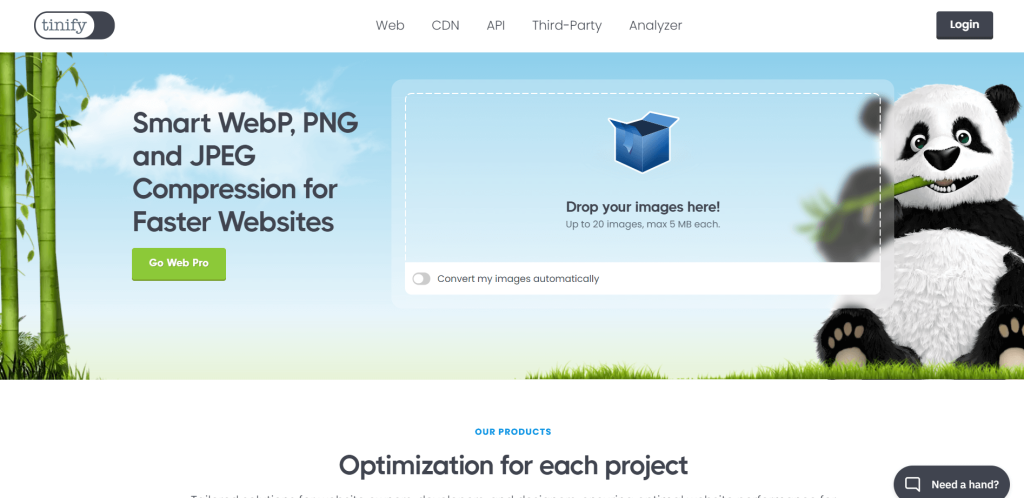
Step 1: Open tinypng.com.
Step 2: Drag and drop the image you want to compress at the area. It will take a few seconds. As you can see, with this method we reduced the image. Next click on the ‘PNG’ button to download the image.
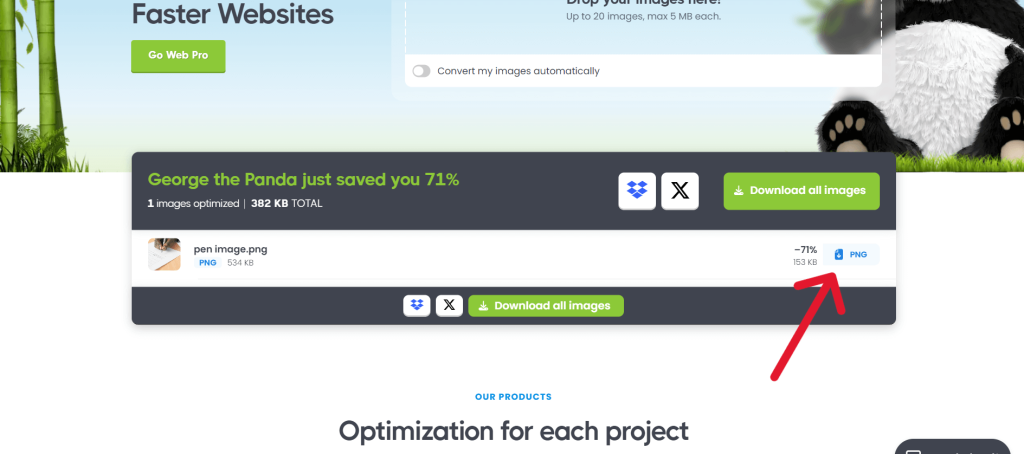
You can use the downloaded image.
Every single image on HT Law is optimized with this method. Don’t skip compressing the images, it’s super important.